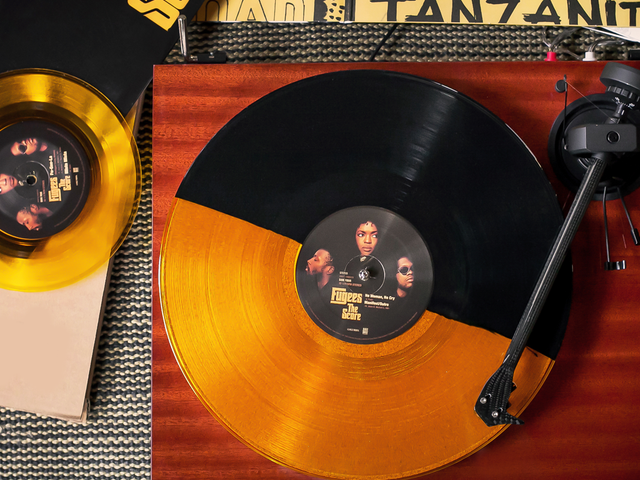
How to Make A Concert Scrapbook & Setlist Notebook Out Of Records
Turn Old Damaged Records Or Cool Album Covers Into Useful Memorabilia
What better way to display awesome concert memories and music ephemera than with a record album scrapbook and coordinating notebook? The oversized album covers are a near-perfect fit for standard scrapbooking pages, while the notebook is small enough to carry in a purse or a backpack, but sturdy enough to withstand the mosh pit.
To Make Both, You Will Need:
-
2 Records - Salvation Army and street vinyl are great places to find records that are too scratched or damaged to be played. When in doubt, check eBay to make sure you're not destroying something rare. Look for records with clever titles and fun covers.
-
Scrapbook Paper - I like to pick individual sheets instead of getting the pack, but the choice is yours.
-
Plastic Scrapbook Sleeves
-
Ephemera - Go crazy in the scrapbook aisle. Get stickers, envelopes, stamps, whatever you want to make it your own. Also, print out photos and ticket stubs.
-
Glue stick/hot glue gun
-
8" x 11" paper - I like salvaging from old sketchbooks, but you can grab a handful out of the office copier too.
-
Hole Punch
-
6 1" Binder Rings
For The Scrapbook:
Remove each record from the sleeve. Line up the scrapbook sleeve on top of the front of the record sleeve and mark where the holes line up. Punch out each hole, first with an awl, then with a hole punch for smooth, even edges. Repeat on the second album cover, making sure they both line up.

Repeat on the second album cover, making sure they both line up. Put one end of each ring binder through each hole and lay the album covers with the b-side facing up. Pile on the scrapbook sleeves and close up the binders.

Now's the really fun part: making the pages! Make pages dedicated to your favorite artists or concert memories, glue in photos and fan art, go crazy! A small envelope can hold ticket stubs or programs, and don't be afraid to layer papers or use washi tape as "frames" around pictures. Old issues of Spin, Q or Rolling Stone can be great for collage, and a strip of felt hot-glued in can display pins and badges. Make sure to leave room to write in a set list or a list of your favorite songs.

When each page is done, slip inside the sleeve for protection. The 1" binder rings give you plenty of room, so the scrapbook can expand well beyond the initial pack of pages.

For the Notebook:
Take 20 pieces of paper (I use standard sketchbook paper to make a notebook that will fit in my bag, but size is up to you) and cut down the center to make your signatures (a paper cutter will make this a LOT easier) Measure 3 holes, one near the top, one right in the center and one near the bottom. Make sure they're about 1/2 inch from the edge of the paper.
Punch through all pages. Repeat on each signature, making sure they line up evenly.

Heat the oven to 250 degrees. Using one of your signatures as a guide, trace around the center of the record, leaving about 1/2 inch extra on either side.
Put the record in the oven, 2-3 minutes, until pliable. Cut along the edges with scissors, and repeat for the second record. You may have to heat it more than once to do this, but be patient!
Mark the holes on the record so they correspond with the paper. Using a drill or small dremmel, drill out three holes.

Close it all up with binder rings. You can add more paper as needed, or add an envelope in the back for ticket stubs, autographs, photos and other ephemera. Make sure to always keep a pen handy to write down setlists, song lyrics or anything else that comes to mind!

Join the Club!
Join Now, Starting at $44Exclusive 15% Off for Teachers, Students, Military members, Healthcare professionals & First Responders - Get Verified!
