The Anatomy of a Turntable
A Rundown on the Parts of Your Turntable and What They Do
Graphics by Julia Fletcher
The process of buying a turntable can feel like buying a car. While it’s a vehicle for practical use, you still want to enjoy riding the soundwaves. Perhaps, like moving on from your first car, you want to move on from the basics of your turntable and upgrade its pieces as you become even more invested in the hobby.
Knowing where to start, without a doubt, is an arduous task. Beginning with the basics — knowing the anatomy of your turntable and its functions — can ease you into the process, especially when understanding how the pieces work together to affect your sound quality.
We’ve done a bit of the dirty work and broke down and illustrated the parts of a turntable to give you a head start on figuring out how to elicit the best sound possible from your machine.
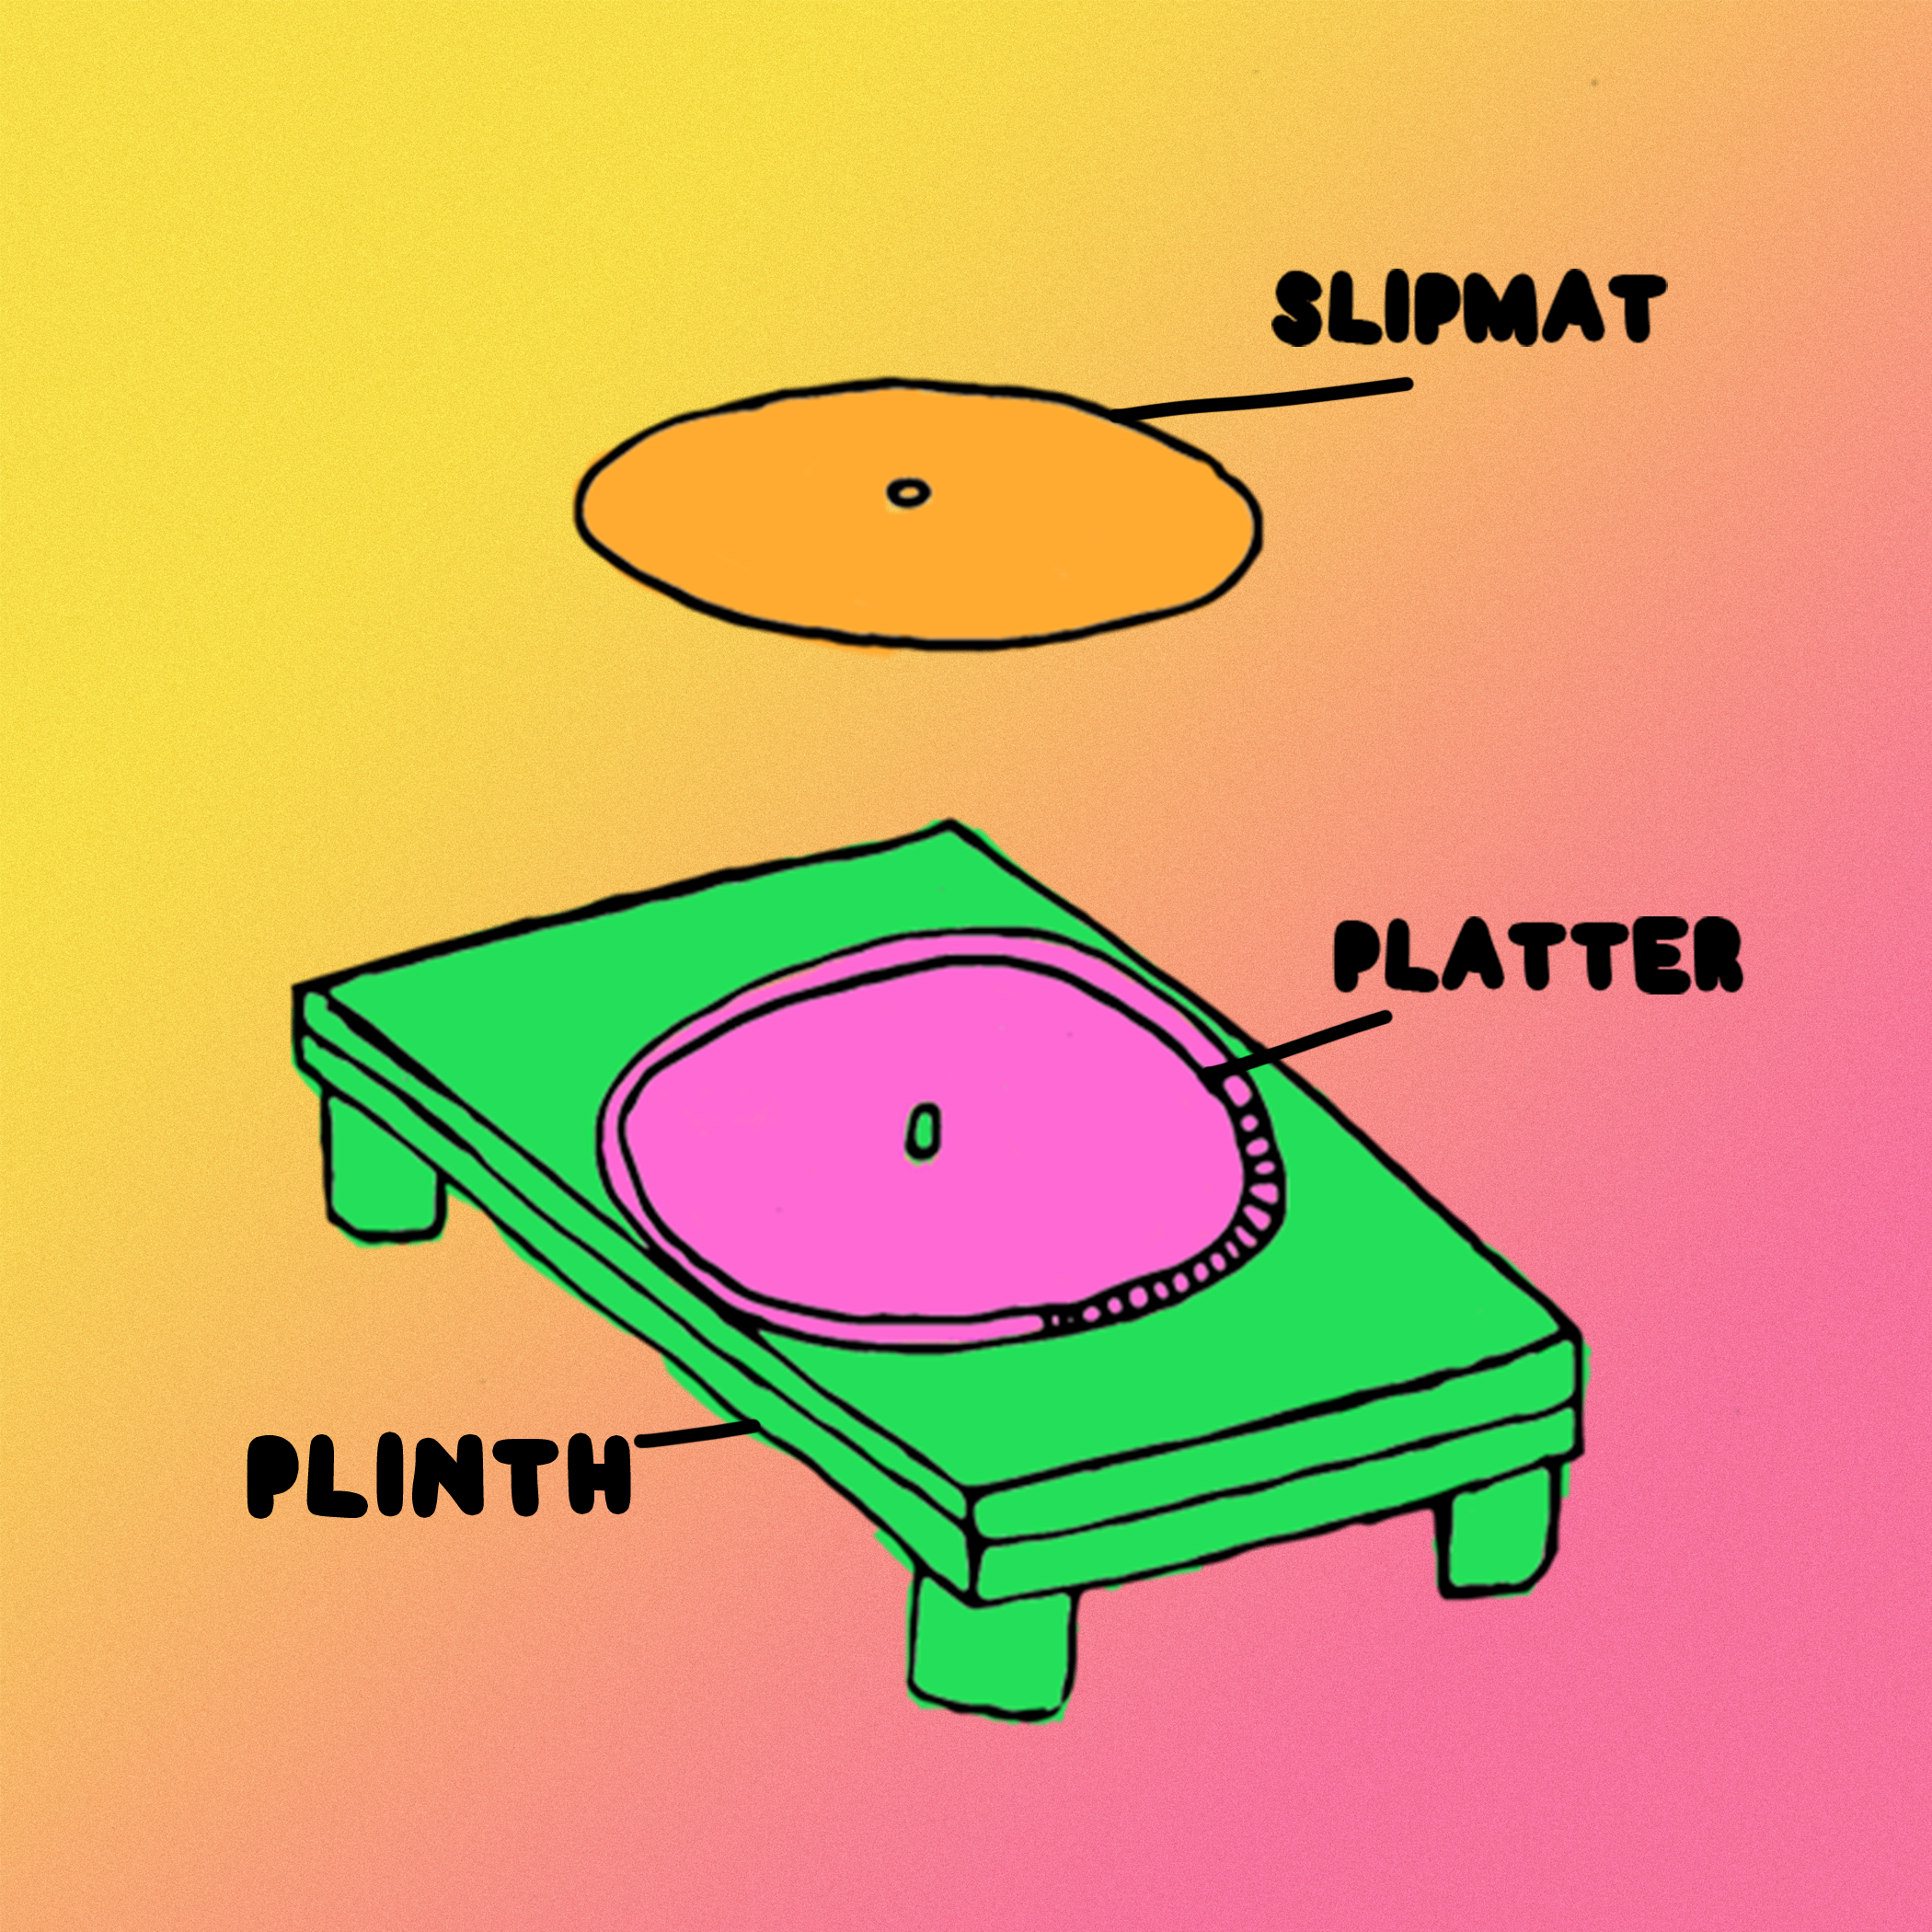
Plinth, Platter, Slipmat
The plinth acts as the base for your turntable. While the plinth is there for aesthetic purposes, it’s also what holds all the good stuff: the complicated, electronic pieces that make your turntable function. Most commonly, you’ll see plinths made of wood, metal or acrylic.
The platter, and as an extension, the slipmat, holds the vinyl in place. Place the vinyl on the platter and it’ll rotate the record. And, as you’ll soon learn, the platter affects your sound quality, primarily by affecting how vibrations are felt and the speed at which your record is being played. Platters can be made from materials like aluminum, plastic, glass or acrylic. With acrylic platters, you can place the record directly on the platter without the need for a slipmat. Acrylic is considered to be a superb option in the realm of platters. Fans of acrylic platters note that it provides better sound quality compared to some other materials due to its density, which translates to less vibrations disrupting the way your turntable’s needle picks up music, and a more consistent play speed. As can be expected, acrylic can be pricier compared to its alternatives, with price points usually beginning at around $100.
Depending on whether your turntable is used as a means for you to enjoy your record or for DJing, there are two purposes for the slipmat. If the turntable is used for music playing purposes, the slipmat is quite self-explanatory. Place it on the platter, and it’ll prevent your (possibly pricey) record from flying off into oblivion when the platter rotates. Moreover, the slipmat also acts as a kind of “buffer” between the vinyl and platter, preventing vibrations from causing resonance in the sound. Materials such as felt, leather, rubber, cork boards, micro density fiberwood (MDF) — plus some others — are typically used as slipmats. Each material has its own pros and cons, and sound differences vary. For example, felt mats can become a trap for dust, while cork can degrade over time. Ultimately, it’s up to personal preference when it comes to selecting a slipmat. For a DJing turntable, the slipmat lets the DJ move the vinyl smoothly across the platter to render interesting sound edits. Felt mats can be a prime choice for vinyl DJing due to having less resistance against the vinyl compared to other materials.

Cartridge: Stylus and Cantilever, Preamp, Tone Arm
First, the stylus is that tiny nib, the aforementioned needle, that makes contact with your record and reads its grooves. While styluses come in several shapes, and each affect the way your record sounds when it’s played, the two most common ones found are the conical and elliptical-shaped styluses. Due to its rounded shape, it’s more difficult for the conical stylus to dig deeper into the smaller grooves and pick up details in sound the way an elliptical one would. Conversely, due to its shape picking up fewer changes in the grooves, it also theoretically picks up fewer crackles and pops if your record isn’t in pristine condition. Between the conical and elliptical styluses, the conical is the most common and cheaper between the two because its shape means it’s also easier to produce. Meanwhile, an elliptical shaped stylus follows the record’s grooves more accurately, picking up those higher frequencies and causing less distortion in sound. The styluses can range from just a few dozen dollars to higher end setups of $100-plus.
The journey of sound begins when the stylus picks up the vibrations made from contact with a record’s grooves. The cantilever attaches to the stylus and also acts as a medium for the vibrations to continue moving along until it humbly finds its way to the rest of the cartridge.

Moving Magnet vs. Moving Coil
This is where major technical variations begin. The moving magnet (MM) is the most common type of cartridge. Sandwiched between coils, a magnet attaches to the cantilever and is weighted on the opposite end of the stylus. The whole purpose of a cartridge is to pick up the vibrations and render them into a signal for your stereo system to read. With a moving magnet cartridge, the magnets vibrate and create a tiny electromagnetic field, which is picked up by the coils and then translated into a signal which the phono output will collect.
The moving coil (MC) is another popular variation of the cartridge. The moving coil cartridge is extremely similar to the moving magnet, except the magnets and coils swap places. In this, the coil is what vibrates, and the magnets pick up the vibrations. Oftentimes, the coil in a moving coil cartridge is smaller than the coils in a moving magnet cartridge. In this case, the cartridge provides a low output or, in other words, the sound is still unbelievably quiet, and an additional amplifier is needed.
In addition to these types of cartridges, you’ll sometimes need a preamp in order to convert the phono signals into a playable line signal for your stereo systems and speakers. Turntables by themselves can struggle to play a signal high enough for your system or speakers to pick up on. The preamp gives the signal a sturdy lift, making it possible for the naked ear to pick up a record’s lovely sounds.
The headshell connects the cartridge to the tonearm. As mentioned in a previous VMP article about the hows, whys and whats of tonearms, the tonearm holds a deep responsibility for ensuring the stylus and cartridge remain in the correct position, all while following the record’s groove and not causing any fluctuations in the sound. As previously noted, vibrations are what allow your turntable to produce noise, however, the vibrations need to be localized at the cartridge. The tonearm prevents the vibrations from traveling anywhere else, thus preventing any strange wobbles.

Tonearm Rest, Cueing Lever, Anti Skate, Counterweight
The tonearm rest is the equivalent of a comfy bed for your tonearm to melt in after a hefty job of lending its support to the cartridge et al. There’s not much to it, except as previously noted, your tonearm indeed makes an impact on the sound quality, and it deserves a temporary resting place until the next play.
Technically, cueing levers are not a necessity to turntables, but unless your hands have surgical steadiness, it’s probably a good idea to use one. The cueing lever helps place the stylus and cartridge on the vinyl with precision and care, resulting in less damage on both the vinyl and stylus.
When playing a record, there’s a natural tendency for the tonearm to venture out on its own, away from the given path kindly provided by the vinyl. More accurately, the tonearm experiences centripetal force. The anti-skate is the gentle guide that nudges the tonearm back on the right path, working in opposition to this force.
On their own, the stylus, cartridge and tonearm can be weighty. A counterweight is needed to ensure these pieces aren’t digging into the records and damaging them. On the other hand, the counterweight needs to be adjusted appropriately so that it’s not gliding above the record either.
Ideally, a turntable’s parts will all work in synergy to give you the best sounds possible. To achieve this, the parts need to track a record’s grooves as accurately as possible on a microscopic level, at the right speed, with the vibrations isolated to where they need to be, all while not damaging the record. Knowing this, it’s magical a turntable is able to produce any sound at all.
With the basics of a turntable under your belt, you can begin to consider what comes after your initial purchase. Perhaps you want to upgrade the individual parts for a customized listening experience. If you’re not quite ready to pull the trigger on diving into the turntable’s customization, we’ve listed our choices for the best turntables under $500 with all parts holistically taken into consideration.
Jillian's origin story began with jam sessions to early 2000s Eurodance tunes, resulting in her current self-proclamations as an EDM aficionado. Jillian has followed her favorite artists to over 15 music festivals and countless concerts.
Related Articles
Join the Club!
Join Now, Starting at $44Exclusive 15% Off for Teachers, Students, Military members, Healthcare professionals & First Responders - Get Verified!
